Visualization
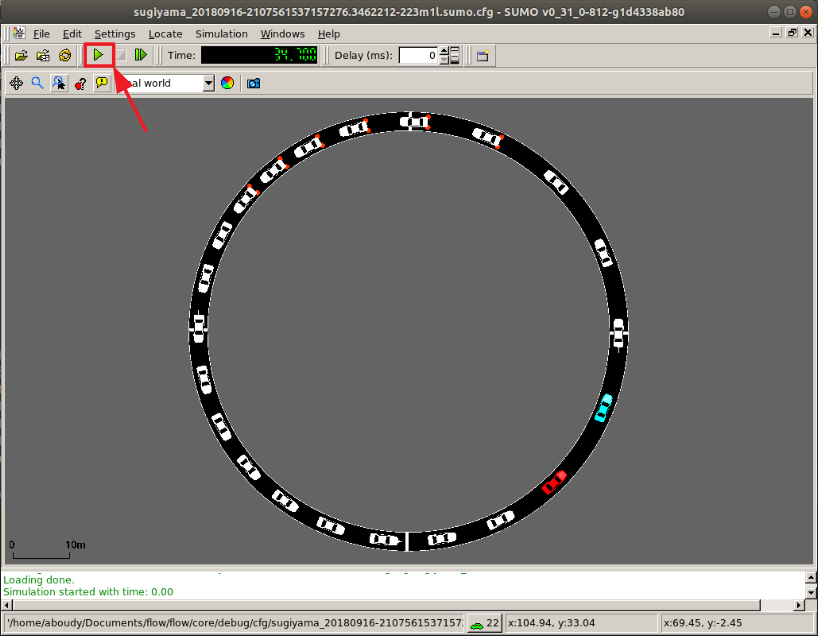
Flow supports visualization of RLlib and SUMO computational experiments. When using one of the below visualizers, a window will appear similar to the one in the figure below. Click on the play button (highlighted in red) and the simulation will begin, with the autonomous vehicles exhibiting the behavior trained by the reinforcement learning algorithm.
RLlib
Call the RLlib visualizer with
python ./visualizer_rllib.py /ray_results/result_dir 1
The first command-line argument corresponds to the directory containing
experiment results (usually within RLlib’s ray_results). The second is
the checkpoint number, corresponding to the iteration number you wish to
visualize.
Parameter storage
RLlib doesn’t automatically store all parameters needed for restoring the state of a Flow experiment upon visualization. As such, Flow experiments in RLlib include code to store relevant parameters. Include the following code snippet in RLlib experiments you will need to visualize
# Logging out flow_params to ray's experiment result folder
from flow.utils.rllib import FlowParamsEncoder
flow_json = json.dumps(
    flow_params, cls=FlowParamsEncoder, sort_keys=True, indent=4)
config['env_config']['flow_params'] = flow_json
config['env_config']['run'] = alg_run
This saves the relevant flow parameters to recreate Flow and perform a rollout.
Another thing to keep in mind is that Flow parameters in RLlib experiments
should be defined outside of the make_create_env function. This allows
that environment creator function to use other experiment parameters later,
upon visualization.
Using Sumo-Web3d to visualize
There are two options to create slightly fancy visualizations that look like
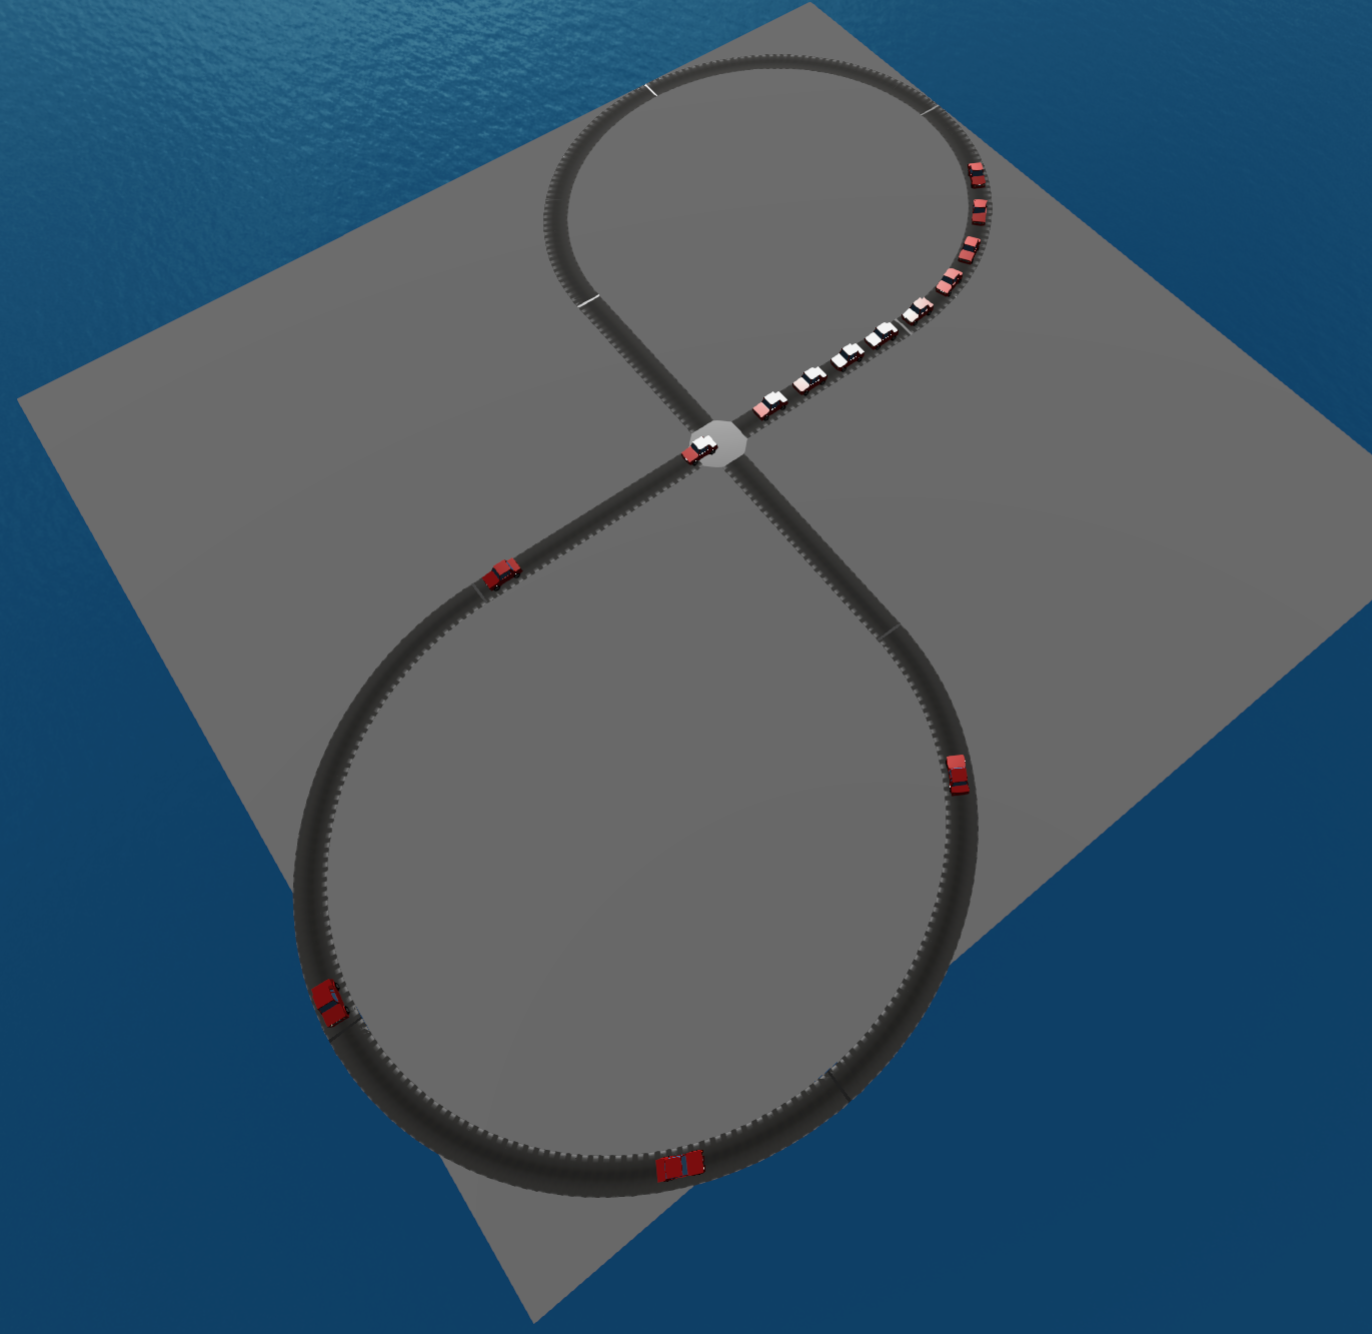
First, go to Sumo-Web3d and follow the installation instructions.
Then, if you don’t need any RL, from the sumo-web3d folder run
python sumo_web3d/sumo_web3d.py "path to sumo.cfg"
If you want to visualize the result of an RL experiment use the rllib visualization instructions given above with the additional flag –sumo_web3d
python ./visualizer_rllib.py /result_dir/itr_XXX.pkl --sumo-web3d
Then, either from the terminal logs pick out the printed port that has num-clients = 2 or you can run
ps aux | grep sumo
It will print out the ports running SUMO; you can then pick out the port number with 2 clients. For example, it may look something like
eugenevinitsky   54189   0.0  0.1  4360720  11208   ??  Ss
5:33PM   0:00.04 sumo -c <PATH-TO-CFG.sumo.cfg>
--remote-port 61057 --num-clients 2 --step-length 0.1
--no-step-log --emission-output --time-to-teleport -1
Here you would pick out 61057 and then run
python sumo_web3d/sumo_web3d.py --sumo-port "port-num" -c "path to sumo.cfg"
where “port_num” is the port indicated above, 61057.